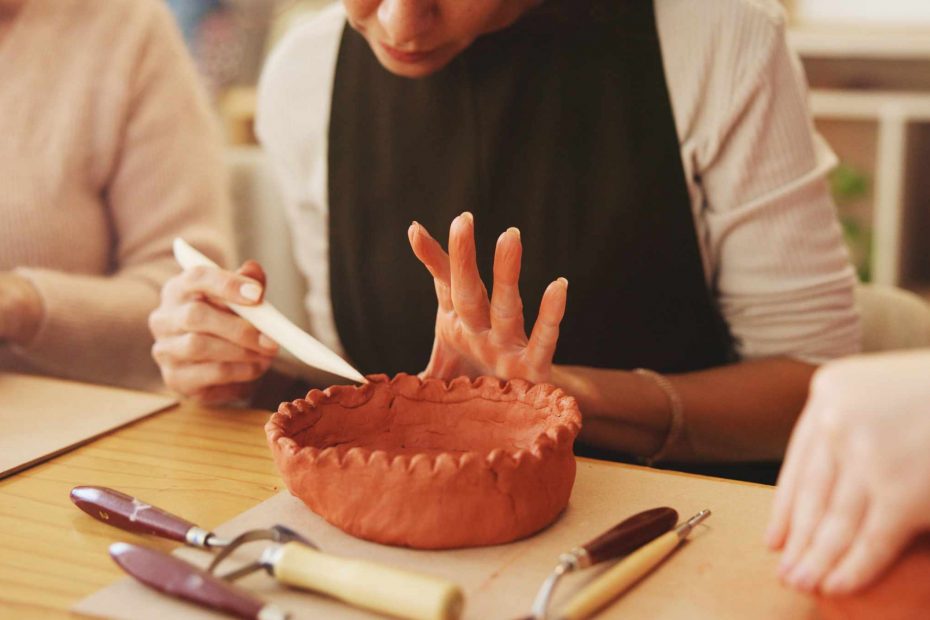
A basic rim isn’t just a detail of a piece, it defines the overall form of a pinch pot, slab tray, wall tile edge or a small bowl. The eye will see an uneven rim first, where one side is thick and the other side is thin, or an edge that’s started to dry out before you trim or tuck it. A small mistake can lead to an unsightly or uneven trimmed edge. Before you trim or tuck your rim with a tool, take a moment to assess the form.
The first thing to check is the firmness of your piece. A very soft rim will be difficult to shape with a tool as it will just bend. Press a finger near the edge; if the wall is sinking or twisting, your rim may need some time before you trim. Although you can still shape and smooth soft clay, you may not get as clean of an edge. This could explain why many new potters will trim the edge, see it slump, and correct it repeatedly while losing the shape of their form.
The second thing to check is your wall thickness. Take your time moving around the form and check if the wall near the edge is of equal thickness. Thicker areas are easier to trim but thin areas could tear with too much pulling and scraping. A pinch pot may have uneven walls because your left thumb was pressing with different pressure than your right thumb. Your tray could have a rim that is thin on one side as a result of a slab being pulled and stretched from the wooden table when you were lifting the tray off of it. Checking wall thickness and adjusting is easier than to attempt hiding uneven walls and a poor edge with smoothing later.
Also, check for the right moisture level. If you see the rim looks shiny, or has sticky clay on your finger, your tool could be dragging and not cutting cleanly. You should pause and let the piece dry out more. If your rim is pale and dusty, or starts to crack, your rim is too dry for tucking without much more care. The most ideal spot would be a rim that’s firm but still slightly responsive. A rim is ready for smoothing with a wooden tool or sponge or your finger when it will still accept a little bit of pressure without becoming mud or falling apart at the edge.
Before you trim the edge, look at the height of your rim from more than one angle. Rotate the pot on the table rather than turning your hand to keep your pressure consistent as you move around the rim. You will also see if you have an edge that peaks and dips rather than a straight, even rim. Don’t try to trim the whole rim at once. Remove a tiny bit of clay and pause to see how it’s done. A needle or loop tool could clean the edge up, but it also digs deeper if your hand is moving too fast.
Tucking the rim is a more gentle and forgiving way of forming the rim, but it also takes practice. While tucking, you can gently form the edge into a cleaner shape, rather than cutting it away. Use a gentle amount of pressure to form the edge and support the other side of the form from the inside with your hand as you guide the edge of the rim inward to prevent collapsing, if the piece is small enough. If you see the edge ripple, stop. Your clay may still be too soft, the wall could be uneven, or you may be pressing your thumb too far out to the side.
A useful exercise to try would be to make 3 small pinch forms and form the edges of each in a different way. You would only smooth the edge with your finger on the first form, trim the second rim to remove a small amount of clay as it begins to firm up, and the 3rd rim could be tucked in with pressure from your finger. Compare and contrast the 3 forms to see if the wall thickness is consistent, the edges are a similar shape and the textures on the 2 trimmed or formed forms feel different than the smoothed form. The best looking form is not necessarily the one that will teach you the most.
A basic rim is ready to be trimmed, tucked or smoothed when the form is firm enough to keep its shape, it will accept a small amount of pressure without smudging or falling apart at the edge, and the clay can be smoothed out without cracking. Check firmness, thickness, moisture level and height as you decide which tool or action to use on a piece. If you decide to trim the rim, it is because there is a small amount of extra clay to remove. You may choose to tuck the rim in because you would like to form the rim edge to a new shape. Or you may just smooth the rim with water, a tool or your finger because the edge is already the shape you want it to be and just needs to be smoothed out. A small amount of attention before you move forward with finishing a form will save your piece from getting overworked where everyone will notice it the most: the rim!